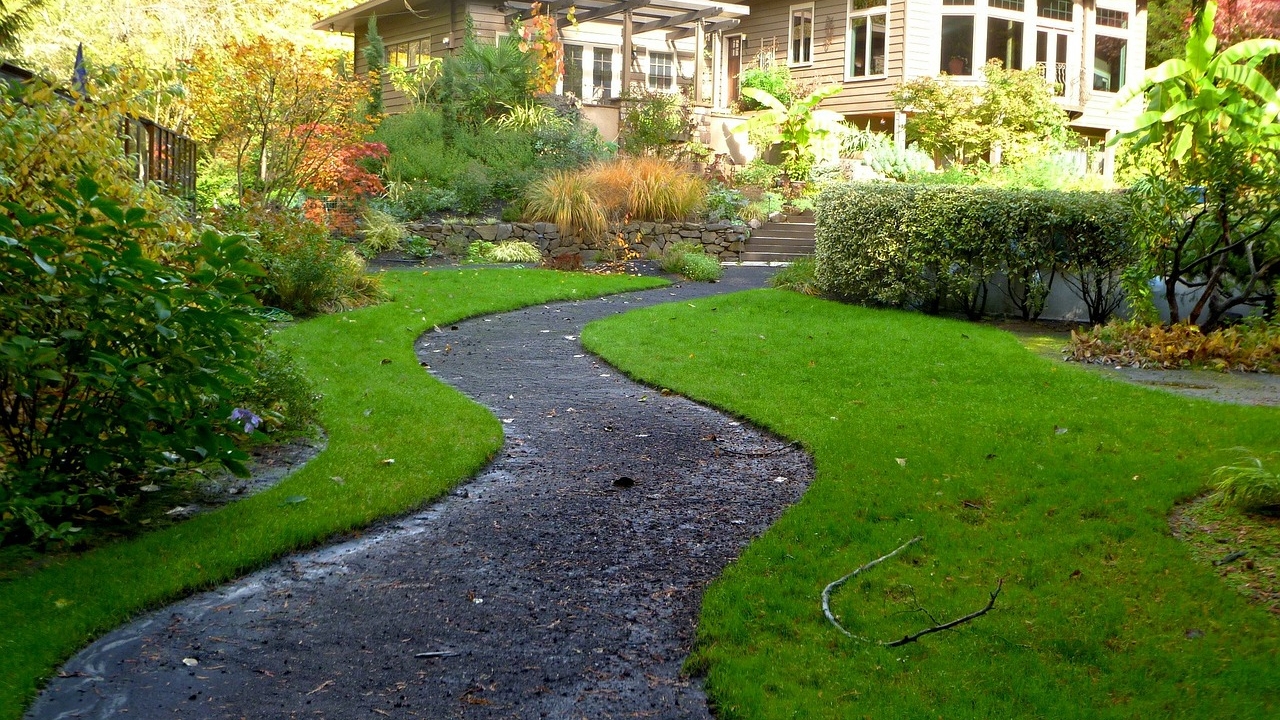
When it comes to lawn care, the little details make all the difference. A sharp, clean edge between your lawn and garden beds not only enhances the curb appeal of your yard but also reflects the care and attention you’ve invested in it. At Be Green Lawn Care, we know the importance of crisp, well-defined lines that elevate your landscape from good to exceptional.

Table of Contents
Here’s a step-by-step guide to achieving professional-grade edges for your beds and borders, along with tools suited for various needs.12
Step 1: Define Your Edge
Whether you’re creating a new garden bed or refreshing an existing one, the first step is to establish the edge. Use a garden hose or string to map out the desired shape. Curved or straight, your outline sets the foundation for the final look.

The Tools for the Job
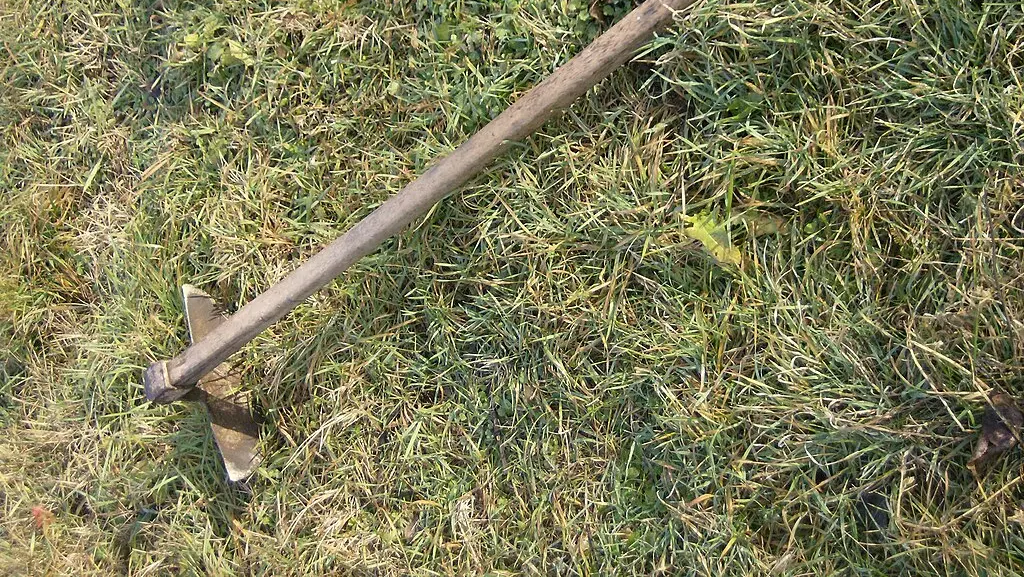
- Traditional Hand Tools: Use a spade or half-moon edger for precise manual control. While these are reliable and affordable, they require more effort, especially for larger areas or curved designs.
- Gas-Powered Edgers: Tools like the McLane Gas-Powered Lawn Edger offer heavy-duty performance for larger properties or tough soil. These machines cut through the ground efficiently, providing professional-grade results.
- Cordless Electric Options: For convenience and ease of use, cordless models like the EGO Power+ 56-Volt Edger combine power with flexibility, making them perfect for mid-sized gardens.
- Compact Walk-Behind Edgers: Alternatives such as the WORX WG896 12 Amp 7.5 Inch Electric Lawn Edger or the Greenworks Pro 80V Edger are ideal for homeowners seeking an easy-to-operate tool for straight and curved edges.
Step 2: Remove the Turf
With your edge established, it’s time to clean up. Use a spade to deepen the trench to 4-6 inches, ensuring a sharp, vertical cut. If you’re carving out a new bed, cut and lift the turf inside the line. Removing the turf entirely prevents grass from encroaching into the garden bed.
Optional Tools for Turf Removal
- Manual Sod Cutters: These tools, like the Radius Garden Root Slayer, make turf removal manageable for smaller areas.
- Powered Sod Cutters: For larger areas or heavy-duty work, machines such as the Billy Goat SC121H Sod Cutter are highly effective and reduce manual labor significantly.
At Be Green Lawn Care, we specialize in this process to ensure a professional, polished finish for your lawn.
Step 3: Sharpen the Edge
For that razor-sharp look, precision is key. Use hand shears held vertically to trim any stray grass blades along the trench wall. Avoid holding the shears horizontally, as this can round off the edge.
Tools for Precision Work
- Manual Grass Shears: Tools like the Fiskars Grass Shears offer excellent control for fine detailing.
- Battery-Powered Trimmers: Compact models such as the Worx GT Revolution 20V 12″ String Trimmer can be adapted for precise edging in tight spaces.
Repeating this step two or three times during the growing season will keep your edges looking fresh and maintained.
Step 4: Add Mulch for the Perfect Finish
Mulching is the final touch that completes the look. Spread 5-8cm of mulch throughout the garden bed, stopping just shy of the edge. This not only suppresses weeds but also creates a subtle slope from the trench to the bed, emphasizing the sharpness of your edge. Plus, mulch adds a rich, finished look to the landscape.
Why Choose Be Green Lawn Care?
Achieving perfect edges takes time, precision, and the right tools. If you’re looking for expert care and a professional touch, Be Green Lawn Care is here to help. From edging to mulching and everything in between, we’ll make your landscape a masterpiece.
Contact us today to schedule your next lawn care service, and let’s give your yard the clean, defined lines it deserves!
Citations
- Burgard, D. (2024, June 10). How to create perfect edges for your garden beds and borders. Fine Gardening. https://www.finegardening.com ↩︎
- Needham, A. (2024, March 22). The best way to edge a flower bed and suppress weeds in 4 steps. The Spruce. https://www.thespruce.com ↩︎


